前言:
去年個人試用Azure Web App、Azure SQL並成功佈署專案後,無論在個人研究或專案開發,深感非常方便。(不用維護硬體與快速佈署的感覺實在太棒了)
今年,因為想要建立自己的Git Server、持續整合測試環境與架設Web API,為了符合需求
,進而轉向租用Azure VM(虛擬機器)進行後續研究。
在這次個人研究費用上,可能包含Window Server作業系統的關係,較Azure Web App與
Azure SQL同時租用稍貴一些(標準A2:雙核心, 3.5G ram, 350GB 硬碟空間),預估費用為
4000元一個月,特過開發者優惠方案,大概可以多省800元左右。當然,這是預估費用。
這篇文章簡單紀錄整個Azure VM建置過程 與 輸出、輸入安全性規則設定(開port)的流程,
除了提供自己未來操作參考用,也提供大家參考,若有錯誤的地方,希望各位先進不吝
指教。
本篇包含兩個部分:
微軟開發者優惠
Step 1. 開啟網站,點選Join now (需要註冊與登入)
Open the webstie,Click Join now(need to sing up and sign in)
Step 2. 選擇Azure $25 monthly Azure credit
Select Azure $25 monthly Azure credit

Step 3. 啟用您的Azure 訂閱帳戶
Enable your Azure Subscription

Step 4. 完成!
Complete!

Azure VM申請與建置流程
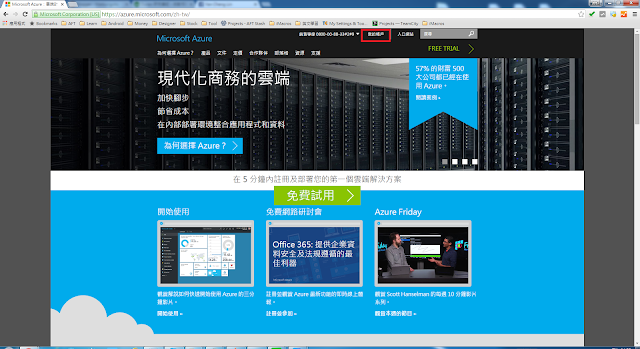
Open Azure WebSite,Click my Account

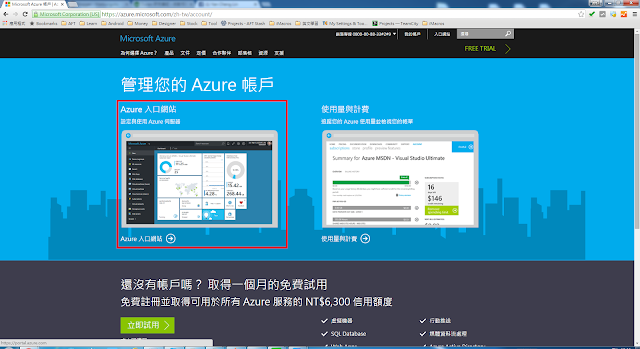
Step 2. 選擇Azure 入口網站
Select Azure entry.

Step 3.選擇虛擬機器,點選新增。
Select Virtual Machine, click Add.
Step 4.Windows Server -> Window Server 2012 R2 Datacenter -> ok
Step 5.輸入帳號、使用者名稱、密碼、訂閱帳戶與區域。
Enter Account, user account, password, subscription, and location.
Step 6.選擇規格。 選擇確定
Select specification. click ok
Step 7. 設定,點選去訂。
Setting, click ok
Step 8. 總覽,點選確定。
Overview, click ok
Step 9. 建立虛擬機器...
Creating VM...
Step 10. 完成,您可以在儀錶板上看到詳細資訊。
Complate, then you can see detail information on dashboard.
Step 11. 虛擬機器 -> 選擇您的虛擬機器 ->選擇連接 下載 rdp file 進行連線。
Virtual Machine -> Select your Virtual Machine -> Connect
Download rdp file and connect to your Virtual Machine
Step 12. 您也可以使用遠端資訊連線進入虛擬機器。
You can enter virtual machine by "Remote Desktop Connection" as well
Step 13. 開始您的虛擬機器。
Let's start to config your virtual machine
輸出、輸入安全性規則設定(開port)
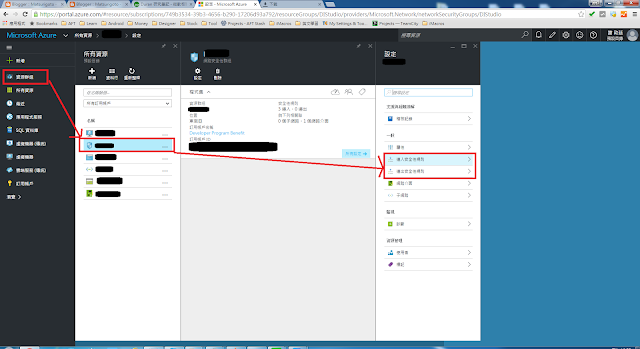
On Azure dashboad, All Resource -> network security group ->
InBound(outbound) security rule

Step 2. 輸入(出)安全規則設定 -> 新增 ->輸入規則後點選確定。完成。
InBound(outbound) security rule -> add -> enter rule and click ok. Complete!!


0 留言