前言
前一篇我們簡單介紹 Azure Blob Storage,可於網頁、應用程式,且適合儲存文字與多媒體檔案的儲存體。在這篇,我們將介紹另一種適用於有結構性 (Structured) 文字資料的儲存體: Azure Tables Storage。 相同的,Tables Storage 除了能在 Azure Portal 上操作,也能透過 Azure Storage Explorer、Azure powershell 進行操作。本篇文章將簡單介紹 Azure Tables Storage,若有任何錯誤或建議,請各位先進不吝提出,謝謝。關鍵字:建立一般儲存體帳戶、建立 Table Storage、透過 Azure storage explorer 管理 table storage 內容
介紹
Table Storage 適用於儲存具有結構性、無關連 (NoSQL) 之大量資料,如:使用者、住家地址、書籍、裝置或類似的詮釋資料(metadata)。若您的資料沒有複雜的 JOIN、外來鍵與使用預存程序,也非常適合使用 Table Storage。Table Storage 的優點除了能透過叢集索引進行快速搜尋,其儲存體也會隨著使用者需求增加規模。Table Storage 具有下列元件:

註:存取 URL 格式為 http://.table.core.windows.net/
Table Storage 以 key-value (NoSQL) 方式進行儲存,其原始資料結構有 PartitionKey、RowKey、Timestamp、Id 與 Name 這幾個欄位,如下表所示:
基本操作
建立一般儲存體帳戶
Step 1. 新增資源 → 搜尋Storage → 選擇儲存體帳戶 →建立

Step 2.在建立儲存體帳號戶的時候,無論是 一般儲存體 第一版或第二版,皆可以支援 Table Storage。輸入相關資訊後,點選建立

Step 3. 完成建立儲存體帳戶 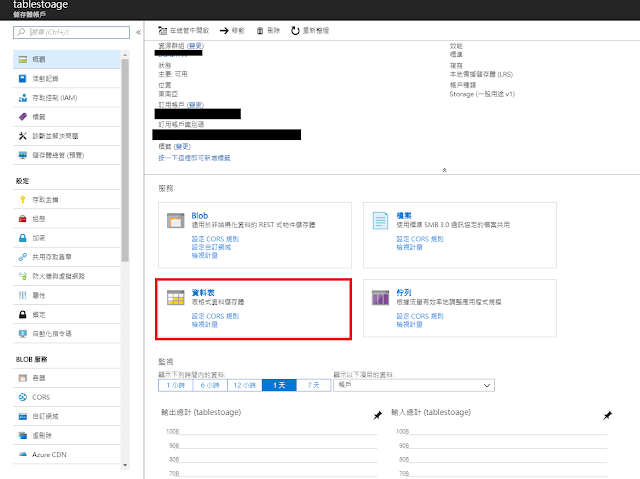

建立 Table Storage
Step 1. 在一般儲存體帳戶中,點選資料表
Step 2.點選新增資料表,輸入資料表名稱,即完成建立 table storage

透過 Azure storage explorer 管理 table storage 內容
Step 1.我們開啟 Azure storage explorer , Refresh All(或重新登入) → Table user → Add → 輸入 Entity 相關資訊

Step 2.在每個 Entity 中, PartitionKey 與 RowKey 是固定的內容(property),您可以增加自己定義的內容。點選 add property → 輸入 Name, Type 與 value。

Step 3. 完成後,即可透過 Azure storage explorer 看見資料表內容

到此簡單介紹如何建立與管理,若需要透過 .NET 應用程式存取 Table Storage,您可以參考 Azure Storage SDK 或 Azure Storage APIs for .NET


0 留言